
There’s just something magical about a tin of caramel popcorn at the holidays—it feels nostalgic, festive, and impossible to stop eating. This homemade version is buttery, golden, crunchy, and kissed with just enough salt to balance the sweetness. Perfect for Christmas tins, hostess gifts, or big bowls at holiday movie nights. (Fair warning: it disappears faster than you think!)
Looking for more festive snackable sweets? Try my Chocolate Peppermint Bark or Cinnamon Sugar Pecans too!
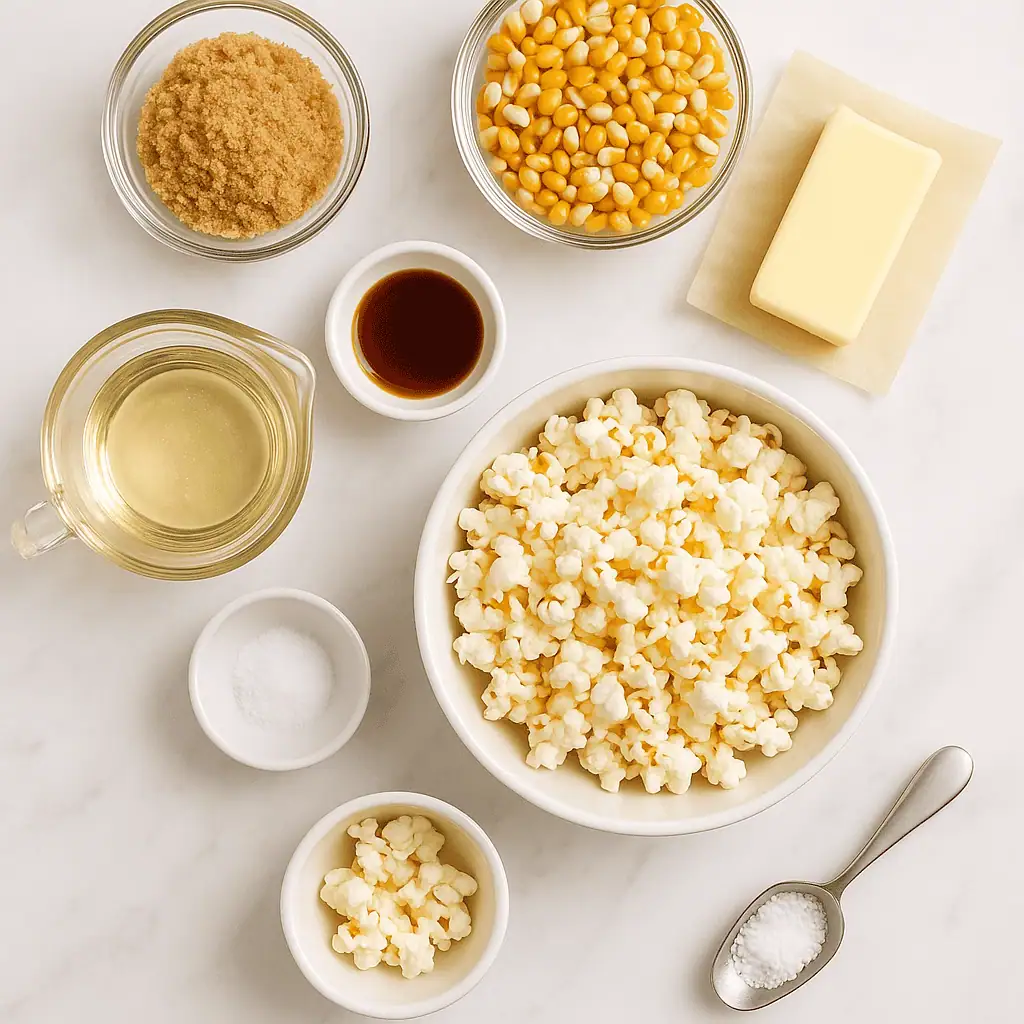
🍿 Ingredients:
- 10 cups plain popped popcorn (about 1/2 cup kernels)
- 1 cup packed light brown sugar
- 1/4 cup light corn syrup
- 1/2 cup unsalted butter
- 1/2 teaspoon salt
- 1/4 teaspoon baking soda
- 1 teaspoon vanilla extract
🧁 Instructions:
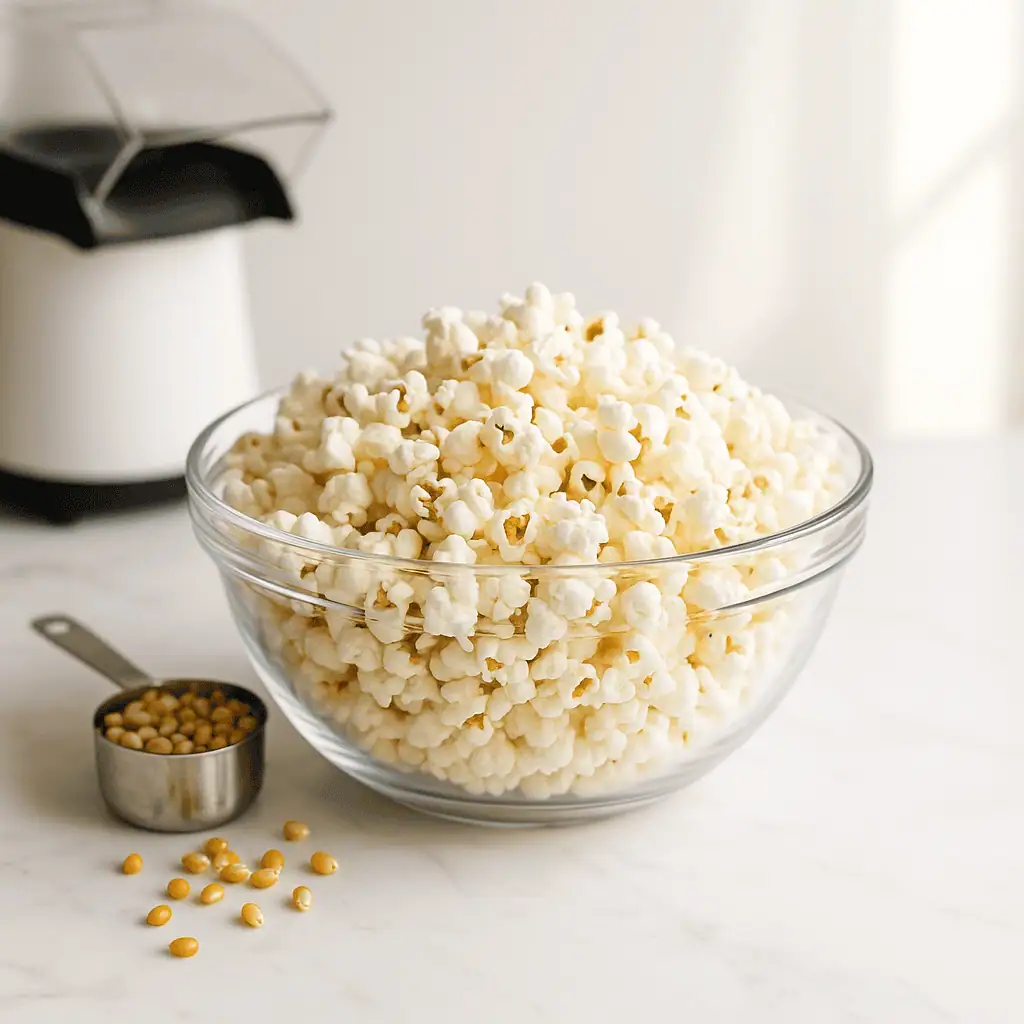
1. Prep: Preheat oven to 250°F. Line a large baking sheet with parchment paper. Place popcorn in a large mixing bowl.
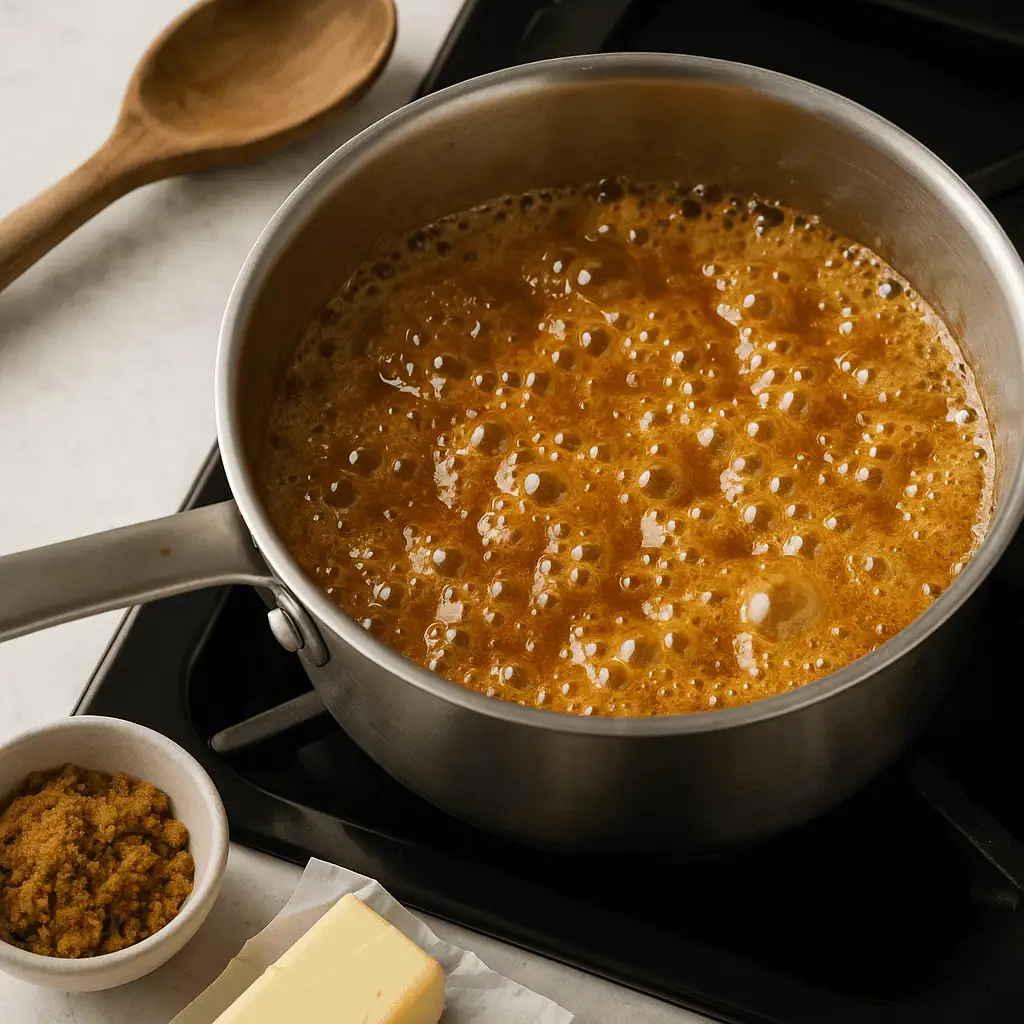
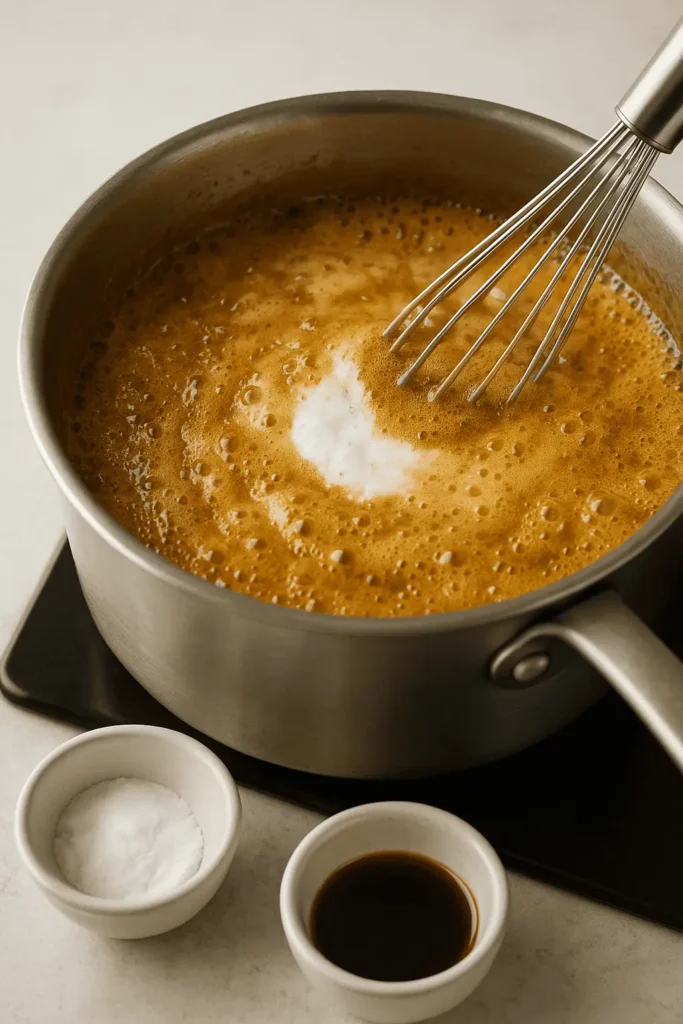
2. Make caramel: In a medium saucepan, combine brown sugar, corn syrup, butter, and salt. Bring to a gentle boil over medium heat, stirring often. Boil 4–5 minutes without stirring once it bubbles.
3. Finish the sauce: Remove from heat. Stir in baking soda and vanilla (it will bubble up—this is normal!).
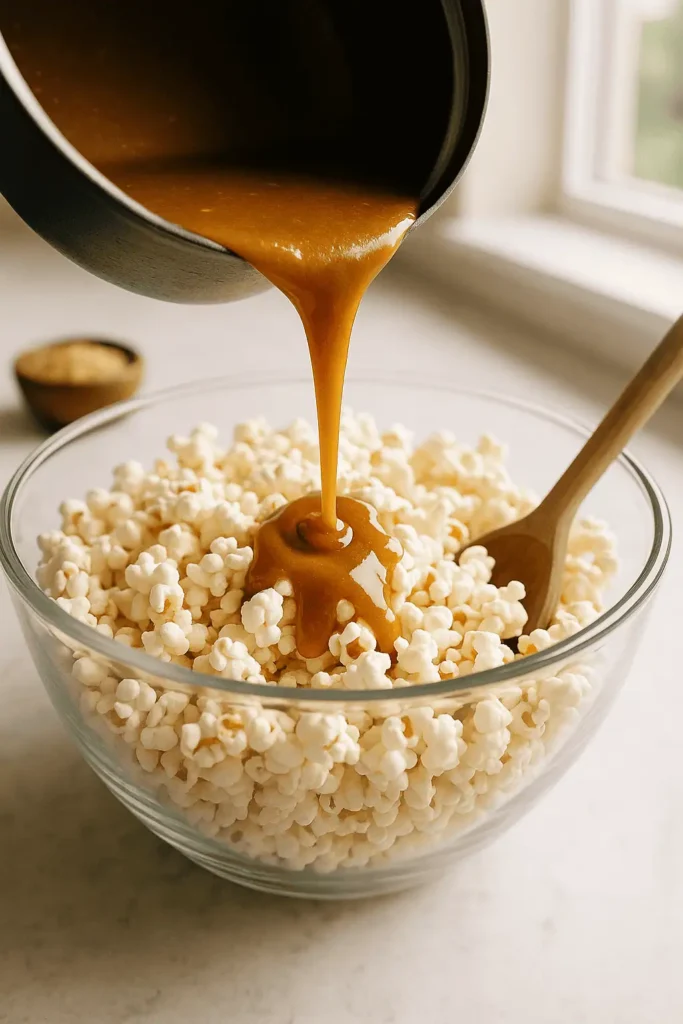
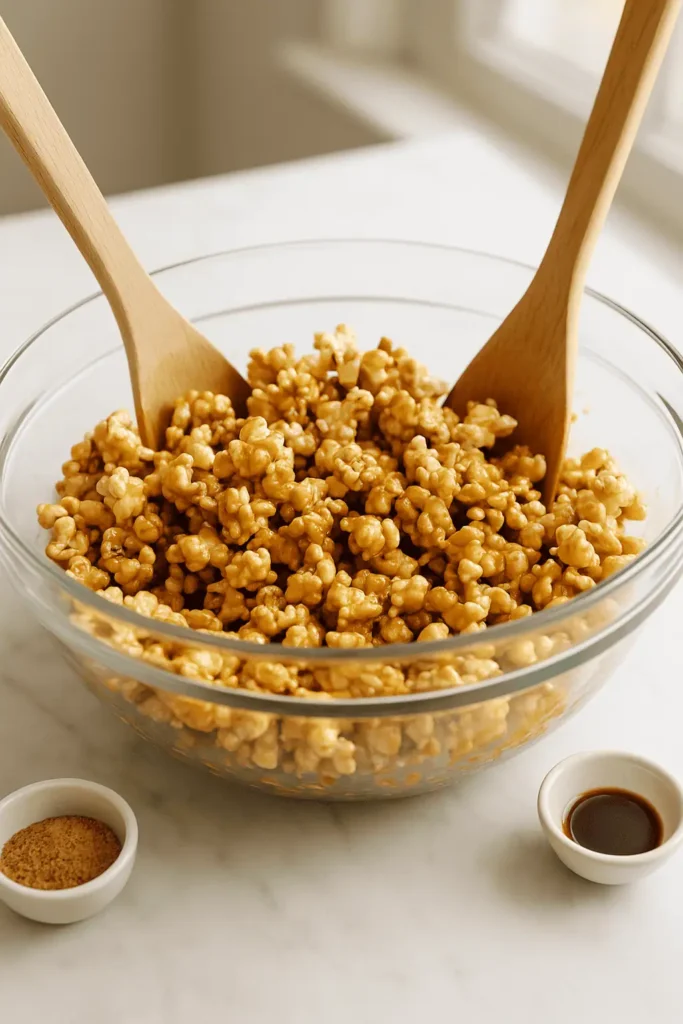
4. Coat popcorn: Immediately pour caramel over popcorn and stir quickly to coat.
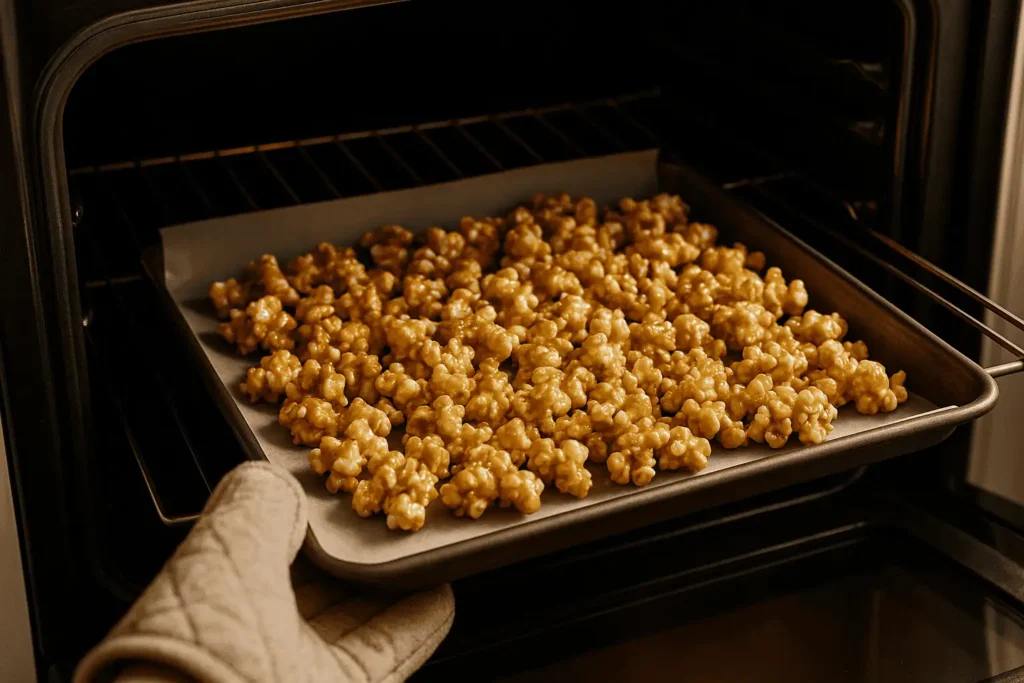
5. Bake for crunch: Spread coated popcorn onto prepared pan. Bake 45–60 minutes, stirring every 15 minutes.
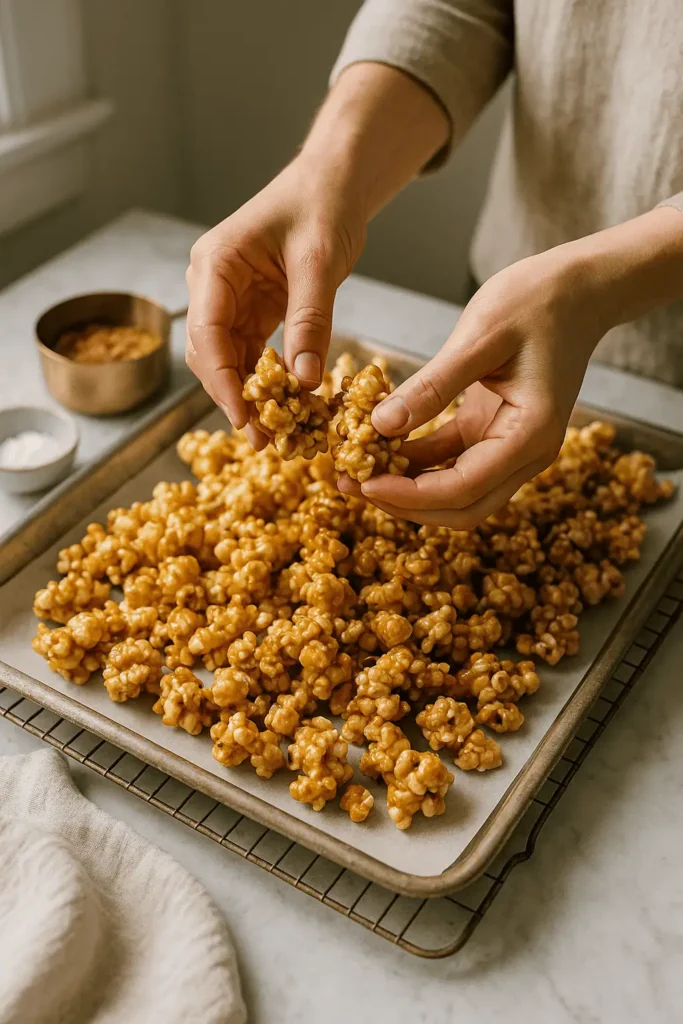
6. Cool & break apart: Let cool completely, then break into clusters. Try not to eat half before packaging. 😉
📝 Notes:
- For easier cleanup, spray your spatula lightly with cooking spray before stirring caramel.
- Baking helps the caramel crisp up—don’t skip it!
- Double the batch if you want gifting tins or bags (trust me, you’ll want more).
Serving Tips:
- Serve in festive tins or cellophane bags tied with ribbon for gifts
- Pour into paper cones for holiday parties
- Mix with chocolate candies for a colorful movie-night mix
Creative Variations:
- Movie-Night Classic: Skip the bake and enjoy a slightly chewier caramel popcorn right after coating.
- Chocolate Drizzle: Once cooled, drizzle melted dark or white chocolate over clusters.
- Nutty Mix: Toss in roasted peanuts, pecans, or almonds before baking.
- Spiced Kick: Add 1/2 teaspoon cinnamon or a pinch of cayenne for a warming twist.
- Gluten-Free: Naturally gluten-free—just be sure your corn syrup and flavorings are certified.


Troubleshooting:
- Too sticky? Bake a little longer until dry to the touch.
- Caramel too hard? You may have boiled it too long—aim for 4–5 minutes max.
- Uneven coating? Use two spatulas to toss popcorn quickly and evenly.
🧊 Storage Info:
- Room Temp: Store in an airtight container for up to 2 weeks.
- Freezer: Not recommended (popcorn loses texture).

Caramel Popcorn
Ingredients
- 10 cups plain popped popcorn about 1/2 cup kernels
- 1 cup packed light brown sugar
- 1/4 cup light corn syrup
- 1/2 cup unsalted butter
- 1/2 teaspoon salt
- 1/4 teaspoon baking soda
- 1 teaspoon vanilla extract
Instructions
- Prep: Preheat oven to 250°F. Line a large baking sheet with parchment paper. Place popcorn in a large mixing bowl.
- Make caramel: In a medium saucepan, combine brown sugar, corn syrup, butter, and salt. Bring to a gentle boil over medium heat, stirring often. Boil 4–5 minutes without stirring once it bubbles.
- Finish the sauce: Remove from heat. Stir in baking soda and vanilla (it will bubble up—this is normal!).
- Coat popcorn: Immediately pour caramel over popcorn and stir quickly to coat.
- Bake for crunch: Spread coated popcorn onto prepared pan. Bake 45–60 minutes, stirring every 15 minutes.
- Cool & break apart: Let cool completely, then break into clusters. Try not to eat half before packaging. 😉
Notes
- For easier cleanup, spray your spatula lightly with cooking spray before stirring caramel.
- Baking helps the caramel crisp up—don’t skip it!
- Double the batch if you want gifting tins or bags (trust me, you’ll want more).
This is the definition of a holiday classic snack—easy to make, makes the house smell amazing, and guaranteed to put smiles on faces. If you make it, tag me on Instagram or Pinterest so I can see your festive tins!